Part 1
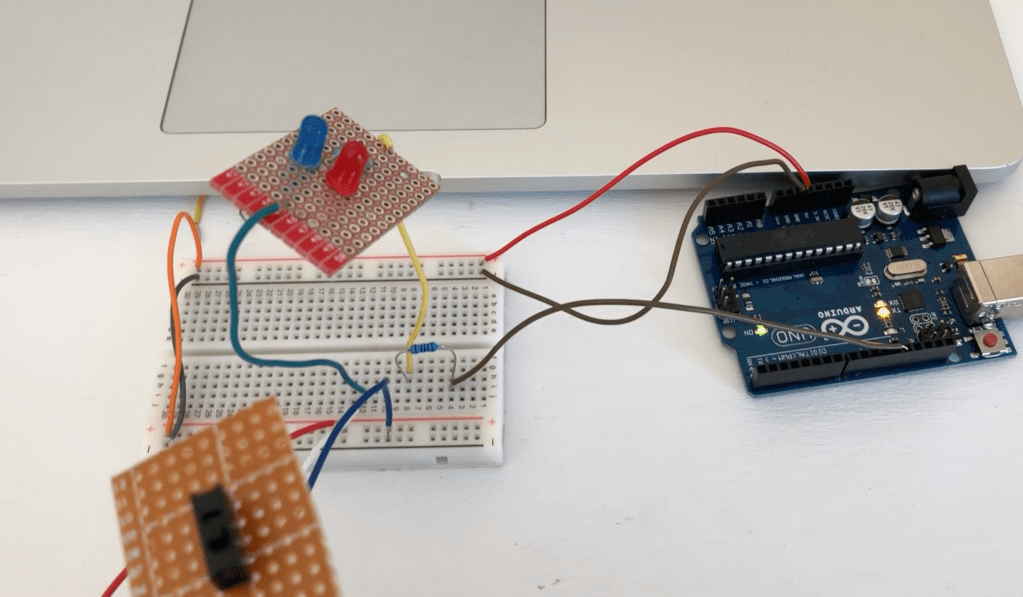
For the first part of lab 2 I built a switch on my bread board to make sure I had the correct wiring then once I knew it worked correctly I used the breakout board to solder the circuit together. I then set connected it to my breadboard to test it and made the LED turn on. Next on my bread board I built 2 LEDs in parallel once I knew they were working I put them on the breakout board and soldered them. I then again connected the soldered piece to the breadboard to check that the LEDs were working.
Part 2
For the second part I set up the circuit so that the breakout switch will turn on the breakout LEDs. Then I made the code have the switch turn on the LEDs and make them blink. I used digitalWrite() to have the LED on when it is HIGH and off when it is LOW and added a 1000 delay to make the speed of the blinking. For the second switch I used a basic press button and added another LED to make it turn on when pressed, a simple but effective button.
https://github.com/masonfibkins/lab2/blob/master/lab2.ino
